
I'm no longer a Floridian! Most of you already know that, but for those of you who don't know me personally, I'm now a Utahn. (I've seen a debate between Utahan and Utahn. I just picked the weirdest one. No surprise there.) We moved here last September, and so far so good! My husband's job has brought us a lot of opportunities, and we're very thankful.
Okay, so back to the stuff you really care about.
IT'S FALL!
Yes, it's necessary to make it that big. Because now I live in a state where there is a distinction between summer and fall, and it's certainly in full swing. It was 44 degrees when I took my daughter to school this morning and it'll be close to 70 by lunch time. It's fabulous, and I was made for fall. I swear it.
So, now that I have fall, I'm like a kid in a candy shop when I get to pick out stuff for fall projects. So, here was my first stop.

Thank goodness for resale groups. This frame and it's identical twin, I got on a local group for $1.50 each. I took the glass and the dual photo mat out and decided it would work perfectly for this. I bought burnt orange yarn, and painstakingly wrapped. (And wrapped, and wrapped.) It takes forever. Well, about two hours if you have children who constantly stand there yelling "we're hungry!"

When I got to the corners, I really didn't like how it threw off the lines of the next side, so I used a hot glue gun to keep the ends down when I got to the point on each side that it started to slant the lines.

Once I got done with all four sides, I started where the line stopped, and alternated. Left side, right side. I made sure that the yarn never overlapped, so it made a really cool design on the corners.
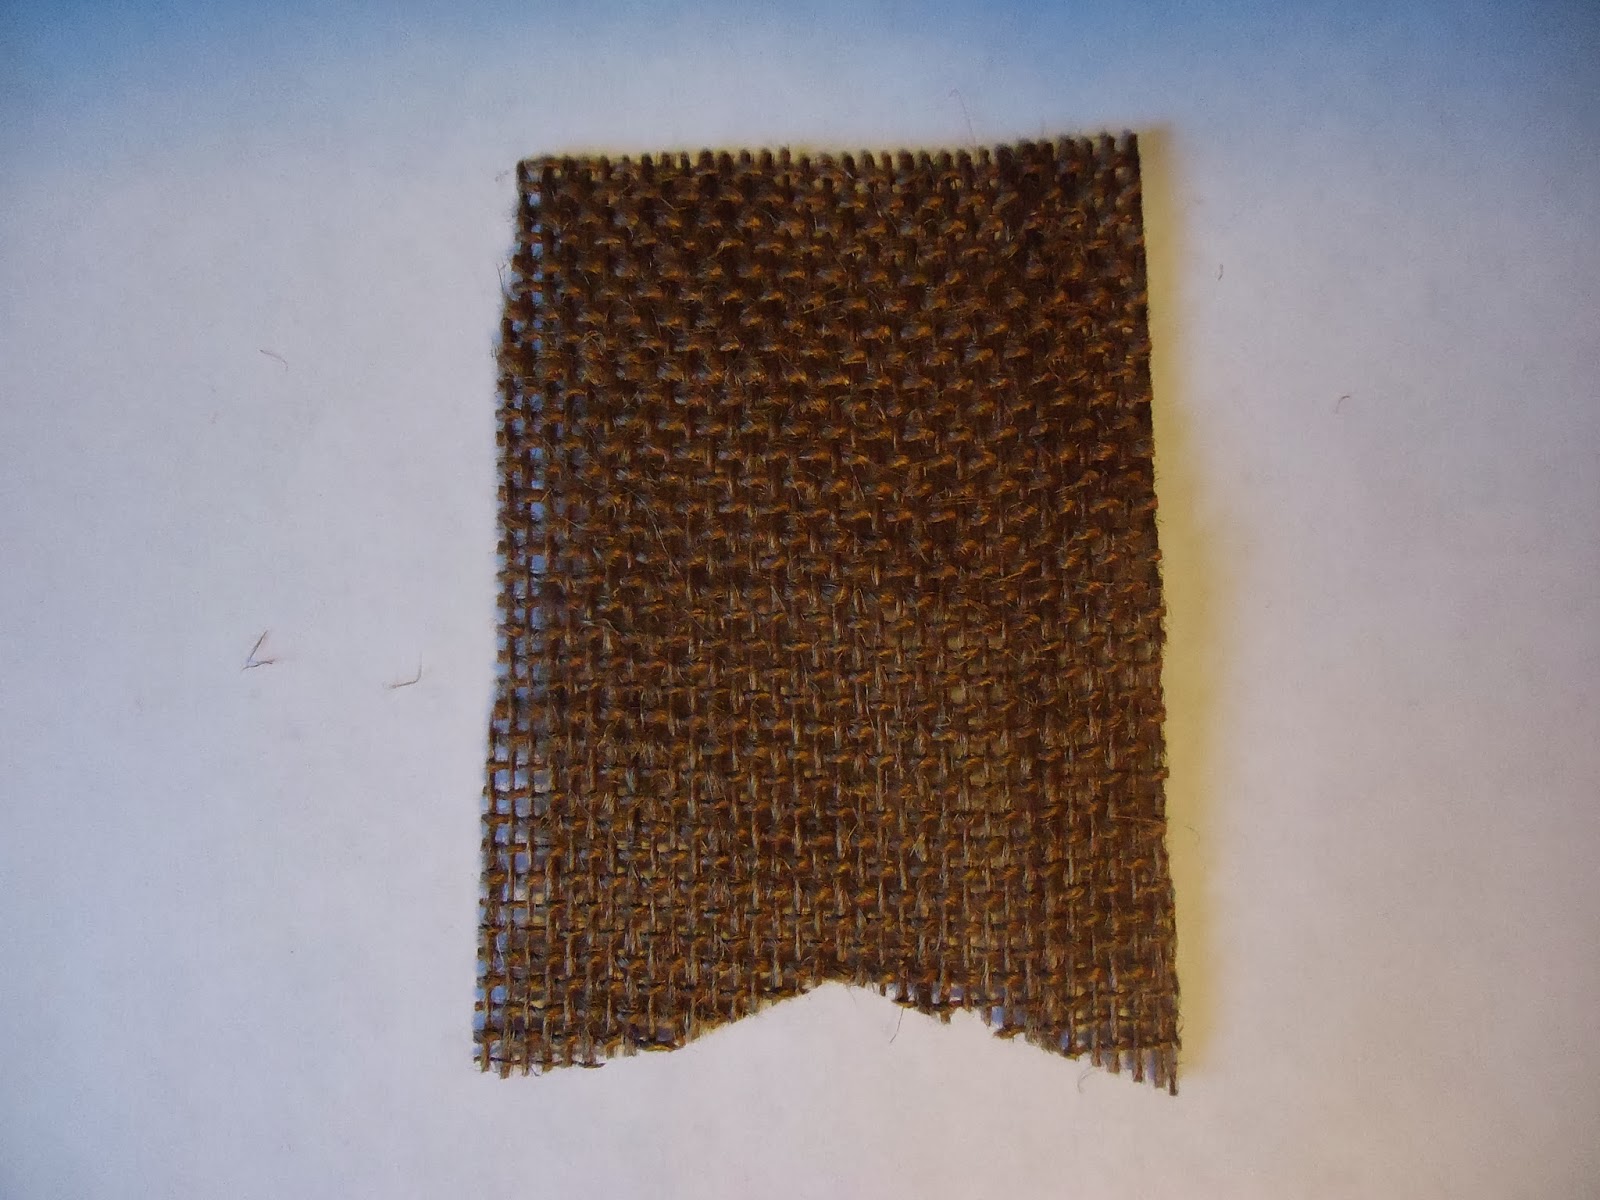
Burlap. Sigh.
I hate love burlap. If I could afford the pretty ribbon version all the time, my life would be so much easier. But I use way too much of it for that, and have a hard time finding it here every time I need it. So I decided to use regular by-the-yard burlap and make it "Rustic" as P-Dubs calls it.

Now, you could certainly use a handmade stencil for all of these "pennant" type elements, but thankfully I rely on my Silhouette for everything in my life.
(If you don't have one, get one. But that's a raving post for another day.)
So I cut three sizes out. A big one out of plain cardstock for tracing the burlap, a medium size that I cut the striped paper into, and a smaller one for the yellow polka dot paper.
I used spray adhesive to set it all together, but a glue stick, tape runner or photo stickers would also work. The hardest part was getting the paper to stick to the burlap.

Twine. I love that stuff too.
I spaced them out face down and hot glued the twine to the back of them.
Please don't make the same mistake I almost did. Either do this before you put letters onto each shape you layered, or FLIP the letters so you spell it backwards.

Sometimes greeting card sets can be your best friend. I found four different themed sets on my resale group. $5 for all of them. Seriously, you can't go wrong. These have an adhesive back, so I just peeled that off and layered all of these cuties together.

They stuck to the yarn...for now. I'll hot glue them if for some reason they don't cooperate.
So, here's what I ended up with!

You could certainly adhere the twine to the frame anyway you like, but I liked that you could see it tied around the frame. You could use ribbon, or glue little painted clothes pins to the frame, then have them hold the letters. Either way, who doesn't love something in the colors of FALL!?
If you love this or any of my other projects, please repin them!

No comments:
Post a Comment