Saturday, January 16, 2016

Shopkins Display Tutorial

You've been there, right? 
You're in a store that has Shopkins in stock, but only when you don't want to spend the money. So you try so desperately to avoid the toy section, but your little one has laser vision and heads straight to them before you can redirect. Right? 

I've been stuck trying to dig $2.88 + tax in coins out of my purse to avoid using my debit card. On more occasions then I care to admit. Needless to say, my seven year old is obsessed. But where do you put them? We tried at least a handful of storage options and none of them were perfect.

So, enough is enough. Mom's making some herself!


These are not perfect. I don't have that kind of patience. Thankfully my OCD was not bothered by small splinters of wood coming off. Once you paint them, imperfections are pretty much not noticeable. If perfect DIY is for you, this post is not ;)


I picked these little shelving pieces up at Michaels. They were in the Christmas section so not readily available in this design probably, but the last time I was there they had some in different shapes with the ready-to-use wood pieces. These were less than $5 each with a coupon. 


This flimsy balsa wood is what I used to make the extra "shelves". This width was good because, cut in three equal pieces, I will have an extra piece for when we need another shelf. Which I'm sure won't be long! Season 4 is out, you know! -flips hair-


Using my ruler, I measured the depth of the existing shelves and drew that on the balsa piece with a pen. It will indent the wood a little bit so don't be afraid to push down. 


Take an Exacto knife and cut all the way through as you go down. It goes through a lot more smoothly than it looks. Be careful not to cut anything important underneath! I left my ruler there as a guide and it made it go through much faster.


I took a pen and made little marks where I needed to cut for each section. I tried to keep everything as evenly spaced as possible. I used scissors to cut through the balsa since it wasnt going with the grain anymore, and it did splinter a little. I just put which ever end looked less appealing and put it against the back.


Test all your pieces first. If it isn't flush with the existing shelves, trim it up. Using the ruler makes it a lot easier to keep it even.


Glue them in! I used a regular paintable/stainable wood glue. Nothing fancy. And you don't need much at all. I used a very small paint brush and just brushed a tiny bit on the sides that will touch. Held them down for ten to twenty seconds and let the whole thing dry for probably six hours or so. Nothing budged.


Before and after.


It took two coats (I used a foam brush) of acrylic paint to match her room.
Easy peasy!

I used my Silhouette program to create the graphic for the heading, and printed it on sticker paper to stick to the piece of wood we bought. It has the jagged edges which I happened to notice are the same design as the top and bottom of the Shopkins list you get in every blind bag.
(Point for mom!)
But you can hand paint it, print something on paper and mod podge it, there are really many ways to do it.


They can add all their little friends, organized in any way their little heart desires! 
If you get the desire to create your own, please share! I'd love to see how yours turned out.


Monday, November 3, 2014

Do I really need anything else to obsess over?

So, I went and became obsessed with yet another organizational "tool". It's big. It's expensive. But it's soooo worth it. Or so I'm told. Mine isn't even here yet! -insert 'are you crazy' face-

Erin Condren Life Planners.

Yes, a planner.
I really try at the end of every year to find a planner for the next year that doesn't suck as bad as the year before. But none of them ever have enough SPACE. Well, enough space and still manage to fit in my purse. So, I found these amazing pieces of organizational heaven and wasted no time.

Once I sat down to research a little more, I realized there is a never ending stream of youtube videos, pinterest tutorials/examples, and ways to use your EC planner. I knew I wanted to utilize mine as a way to keep track of my weight loss progress for 2015. So I spent a little bit of down time that I had to make something to put into the back of my planner to serve as a diary and reminder at the same time. 


I took the images I put together to Office Depot and had them laminated in 5 mm. Cost me...barely $5 for both sheets? You can't beat it. I will use stickers on the jars to represent the pounds I want to lose, and hopefully continue to move them over week by week!

For the second sheet, I will just use permanent marker to write down my current weight each Monday.

The bottom sheet, I actually will turn into a sticker. The sticker will go right in my Monday slot of my weekly spread in my planner. I have a horrible memory and honestly forget to do what I need to, even something that I will be doing every Monday. So the sticker will help, not only remind me to take my stats, but to be able to see week by week how they have hopefully changed!

Have you thought about owning your own Erin Condren planner? I was so iffy about it, but even without it being here (I looked through a LOT of examples!) I'm in love. Use the referral code to sign up and you'll get an email for $10 off your first order!


I can't wait to share my new obsession with the rest of you :)

Sunday, November 2, 2014

Pardon my dust!

I'm in the process of redoing the blog. But I'm not fancy enough to pay someone to do it for me. So it may take a while, but I will figure it out eventually! So just ignore all the random things in places that they probably don't belong :)

Tuesday, April 1, 2014

Dear Chevron...

It's done! 

I wish I could say that I loved doing it. I wish I could say it was easy. But, nothing that looks good is ever really easy, is it?

Our new house, thankfully, had room for my "office". I've been in desperate need for a space close to where the kids play so I wasn't spending every night after bedtime in a panic because I didn't have enough time to finish something. I really am not a fan of staying up until 2am trying to finish orders every night. 

Can I say how awesome the paint colors are? The whole thing worked out eerily well. I went to Lowe's that day, and started picking out swatches so I could decide what color I wanted. I had decided on these two colors, and two pretty similar colors. We went to leave, and there on the clearance rack sat two gallons of paint. Not just any paint. Two gallons that matched the paint swatches that I had just picked out 30 seconds ago. And not cheap paint either. $38 a gallon paint. The best of the best. And they were marked down to $5 each.  I called my mom, my best friend, and my husband (who obviously didn't care), just in disbelief about saving over $50 on paint. 


I sat here looking at the wall for a while, trying to figure out measurements. I'm not bad at math by any means, but the more I looked at it, the more confused I made myself. So, I did what any smart person would do and I asked my math wiz husband to do it for me ;)

After explaining it to me, I ended up with this.


The wall is 78 inches wide, and 105 inches tall. So we divided by numbers that gave us even numbers. I wanted 5 "points" horizontally, so in actuality, I had to divide by 6. I had to add an extra number to make sure my points were centered instead of ending on the wall. Then I divided 105 by 15, and w were ready to go!


Now, I imagine there might be an easier way to do this. It was certainly time consuming. But with my OCD, it made the most sense to me and it made sure that every measurement was close to exactly right. Which I knew I would have a fit about if it wasn't. 
We took yarn and ran it up and across at every measurement, and used a push pin to keep it in. Then I would make a dot with a pencil where each piece of yarn intersected. Then I just took each piece down as I finished a row. It seemed like a lot of work just to make some dots, but I am SO glad that I did. It made it VERY easy and well worth the time and effort.


After taping! 
I used the dots to mark with each strip of tape. I did the inside of where the blue stripes would stay so that I didn't have to retape anything. 

There is only one thing I wish I would've done differently. I would've done a coat of the blue paint where the gray stripes were. I did have some gray paint leak through, and did have a few touchups to do. Doing a coat of blue first would've taken about the same time, but I would've been happier when I took the tape off. Most of the mistakes aren't noticeable unless you took the time to stare at the wall for imperfections, but OCD makes me do that.


Overall, I'm absolutely in love with it. The dresser I redid sits opposite of it, and I just love this room. It still needs a few personal touches, but I'm thrilled! Have any questions? Please ask!


Friday, December 13, 2013

Obsession? I say appreciation.

Ask my friends, family, husband. Chevron has been my obsession for a while. I know that the very bold pattern doesn't match everything, but darn if I don't try. I found one of very few yard sales that you find around here and found this little belongs-in-the-90s shelf.

 
Totally 90's right? Anyway, when I find something even close to storage, I buy it. Normal storage pieces from the store cost way more than they should, and I'm a glutton for punishment as far as DIY is concerned. So, I bought my typical Rustoleum Paint+Primer and went to work.
 
 
I used a matte gray first and painted the whole thing. Then I wrapped some newspaper around the sides as close to the edge as possible so I didn't need to tape it down other than around the back to hold it together.
 
 
Then of course, the chevron stencil. I cut the stencil out of contact paper by using my Silhouette but it wouldn't be too difficult to make your own. I pressed it over the sides so it held my newspaper down.
 
 
I love this gray and blue combo. It's one of my new favorites.


Off topic, you can see I have a thing for Indie books. You really should too! This will eventually hold craft stuff but for now, it serves its purpose as my bookshelf.


Friday, October 11, 2013

Applesauce. ::drool::

The only thing I love more than fall décor, is the SMELL of fall. Namely pumpkin. But I love anything that reminds me of fall. There isn't a whole lot that smells better than baking/cooking apples. When you combine that with the ease of the crockpot, well, that makes lazy people like me happy. My kids also LOVE applesauce, and the junk in the store is pretty much worthless nutritionally. And have you seen the price of organic applesauce? Ho-lee cow.
 
Thankfully, my grocery store has these bags they put together full of produce and put them in 99 cent bundles. This time of year, those bags are usually full of 5-7 apples each. Even better!
 

I've tried all green apples. I've tried all red apples. I like a combo of both. If I use more green, I up the brown sugar, if I use more red. I use less. So this recipe is based on using mostly red and a couple green.
 
 
I'm terrible at using a knife to slice apples. Not really sure what it is. So I peel them, and then use this fabulous $5 kitchen tool to do all the work for me ;) If you don't get all the peel, no biggie!
 
 
I put all the apple slices in, pour the lemon juice over and stir them before I put everything else in. I don't know that it would be necessary, but part of me things my kids would have a cow if it was more brown that it already is. I avoid those unnecessary tantrums when at all possible.
 
I cook mine on low for 7-8 hours overnight. My kids, and husband especially, like the applesauce warm so I like for it to be ready first thing in the morning. But if you wanted to cook it on high for four hours, that would work too.


I'm not a fan of the texture, even after cooking it for eight hours. So I stick the cooked apples in my Ninja blender and blend it until it's not chunky anymore.  It's sweet and rich, without a whole lot of extra stuff. And your house will smell DIVINE!
 
 
Ingredients:
 
10 apples
2 Tbsp. lemon juice
2 Tbsp. brown sugar
1/2 tsp vanilla extract
1 tsp cinnamon
1/2 c water
 
Directions:
Peel and slice apples, toss in lemon juice.
Put all other ingredients over top of the apples in the crockpot and cook on low 7-8 hours, or high for 4-5 hours.
Leave chunky or throw into a blender for a thinner consistency.
 
Makes about 5 cups.
 

Wednesday, October 9, 2013

My bad! Do you hate me?

I'm a horrrrrrrrrrrrrrible excuse for a blogger. If you've forgotten about me, I won't hold it against you ;) What have I been up to, you ask? (Pretend you asked.)

I'm no longer a Floridian! Most of you already know that, but for those of you who don't know me personally, I'm now a Utahn. (I've seen a debate between Utahan and Utahn. I just picked the weirdest one. No surprise there.) We moved here last September, and so far so good! My husband's job has brought us a lot of opportunities, and we're very thankful.

Okay, so back to the stuff you really care about.


IT'S FALL!

Yes, it's necessary to make it that big. Because now I live in a state where there is a distinction between summer and fall, and it's certainly in full swing. It was 44 degrees when I took my daughter to school this morning and it'll be close to 70 by lunch time. It's fabulous, and I was made for fall. I swear it.


So, now that I have fall, I'm like a kid in a candy shop when I get to pick out stuff for fall projects. So, here was my first stop.


Thank goodness for resale groups. This frame and it's identical twin, I got on a local group for $1.50 each. I took the glass and the dual photo mat out and decided it would work perfectly for this. I bought burnt orange yarn, and painstakingly wrapped. (And wrapped, and wrapped.) It takes forever. Well, about two hours if you have children who constantly stand there yelling "we're hungry!"

 
When I got to the corners, I really didn't like how it threw off the lines of the next side, so I used a hot glue gun to keep the ends down when I got to the point on each side that it started to slant the lines.
 
 
Once I got done with all four sides, I started where the line stopped, and alternated. Left side, right side. I made sure that the yarn never overlapped, so it made a really cool design on the corners.
 
 
Burlap. Sigh.
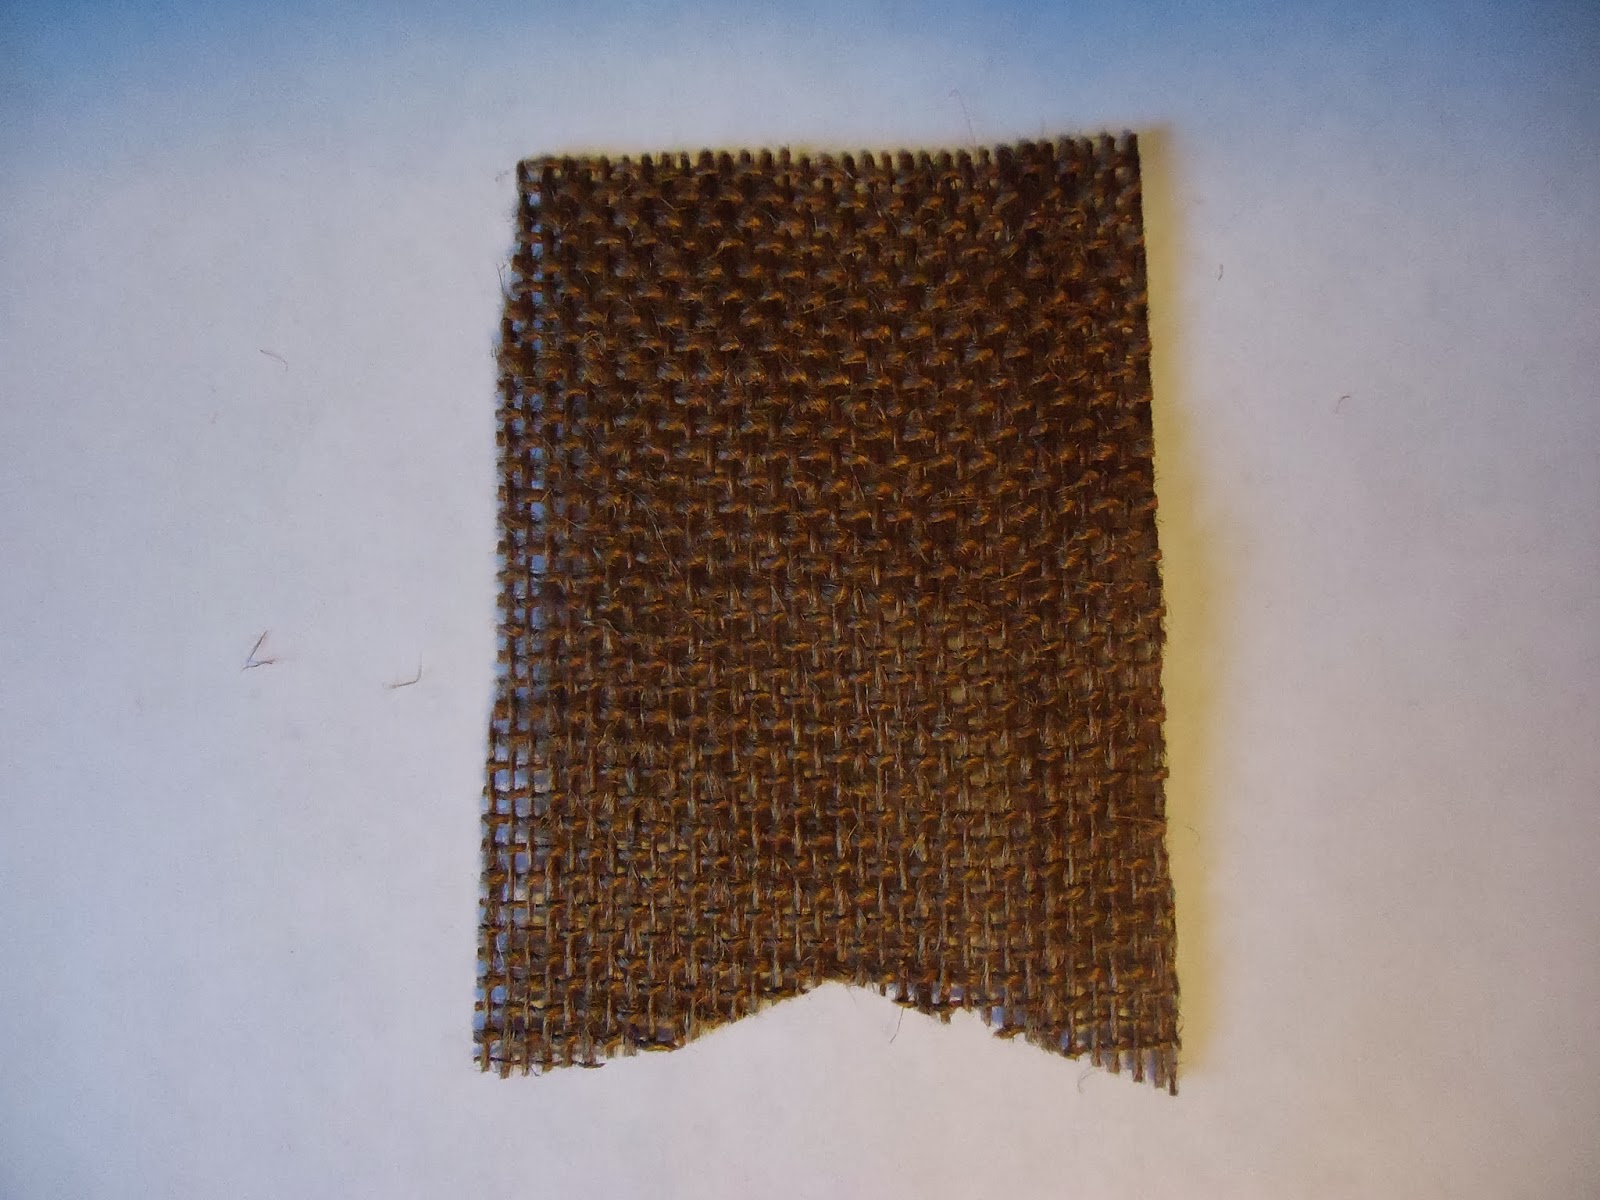
I hate love burlap. If I could afford the pretty ribbon version all the time, my life would be so much easier. But I use way too much of it for that, and have a hard time finding it here every time I need it. So I decided to use regular by-the-yard burlap and make it "Rustic" as P-Dubs calls it.
 
 
Now, you could certainly use a handmade stencil for all of these "pennant" type elements, but thankfully I rely on my Silhouette for everything in my life.
(If you don't have one, get one. But that's a raving post for another day.)
So I cut three sizes out. A big one out of plain cardstock for tracing the burlap, a medium size that I cut the striped paper into, and a smaller one for the yellow polka dot paper.
I used spray adhesive to set it all together, but a glue stick, tape runner or photo stickers would also work. The hardest part was getting the paper to stick to the burlap.
 
 
Twine. I love that stuff too.
I spaced them out face down and hot glued the twine to the back of them.
Please don't make the same mistake I almost did. Either do this before you put letters onto each shape you layered, or FLIP the letters so you spell it backwards.
 
 
Sometimes greeting card sets can be your best friend. I found four different themed sets on my resale group. $5 for all of them. Seriously, you can't go wrong. These have an adhesive back, so I just peeled that off and layered all of these cuties together.
 
 
They stuck to the yarn...for now. I'll hot glue them if for some reason they don't cooperate.
 
So, here's what I ended up with!
 
 
You could certainly adhere the twine to the frame anyway you like, but I liked that you could see it tied around the frame. You could use ribbon, or glue little painted clothes pins to the frame, then have them hold the letters. Either way, who doesn't love something in the colors of FALL!?
 
If you love this or any of my other projects, please repin them!


Monday, June 25, 2012

I'm aliiiive!

It's been a while. Okay, a really long while. I have two toddlers, and the memory of a goldfish. I come bearing gifts...will that get me out of trouble? :)

Summer is upon us, and it's hot. Hotter in some places than others, but this giveaway seems very appropriate given that summer just started. I got the Dry Idea deodorant a couple weeks ago, and have been using it since it arrived. I hadn't used a roll on deodorant in some time, but this one didn't disappoint! It worked just as well as my normal antiperspirant, and I will continue to use it until it's gone. I'll have to hunt for it more often in my couponing adventures! :)


Purex has teamed up with Dry Idea and allowed me to host this wonderful giveaway THREE coupons for free Dry Idea AdvancedDry. Anyone interested?


I have four ways for you to win!

1. Leave me a comment telling me what your favorite summer activity is. 

2. Bring someone over! Tell a friend about Frills & Freckles, and have them follow me and leave a comment saying you sent them.

3.. Head over to Dry Idea's facebook page, like them, and leave a link to my blog (giveaway) telling them that I sent you!

4. Dry Idea is hosting a sweepstakes worth over $1,000 in prizes! Who doesn't love free stuff? Use the unique url, and enter the contest! Dry idea sweepstakes!

Don't forget to leave a comment for any of the entries you complete! You must also be a blog follower to win. Contest will end on 12:00pm EST on 7/1/12. Good luck!


DISCLAIMER - Dry Idea provided a free sample of their Advanced Dry Roll-On for review. 
However, all the opinions are my own!

Wednesday, February 1, 2012

Thank you Fisher Price!

Last Christmas, Breleigh's big gift was the Fisher Price IXL Learning System. After tons of research, review reading, and store browsing, we I finally decided on that one. We've been through quite a few sets of batteries. She absolutely loves it. But I'm also very careful about where she uses it, and what she's doing with it. I didn't spend $80 (the price at the time) for her to turn around and toss the darn thing on the floor.

Probably six weeks ago, she went to turn it on, and you could see the backlight, but it wouldn't do ANYTHING. No sounds, no picture, nada. I emailed Fisher Price about the problem, and they told me to do their live chat to troubleshoot to see if they could talk me through it to fix the problem. Wouldn't you know that halfway through our troubleshooting, my computer would NOT reconnect to the chat. I must have talked to four different people before I finally gave up. By the time I got back to the computer, I had an email from Fisher Price Consumer Relations telling me that they were going to replace her IXL. They emailed me a label, I paid for the shipping, and mailed it to them. We received the IXL from UPS today. About three days after an email stating they were sending it back. Not only did they replace it, but they replaced it with an "updated" version that had a  new look and more content.

I can't begin to praise Fisher Price enough for their help and quickness and resolving this problem. We planned to take the IXL with us to Disney in two weeks, and I was worried it wouldn't be fixed in time. No worries. I didn't have to argue with anyone about why the toy was broken, or a receipt, or how long it was broken. They quickly remedied the problem. Thanks for the great customer service, Fisher Price!

Friday, January 27, 2012

Can't stop me now!

I promised you a new DIY project, didn't I? Well, I finally found some time to finish it. I wanted to make Breleigh a new tank top before summer is already here starts. We do live in Florida, after all, and winter doesn't stick around for too long. I didn't  have a pattern, but patterns and I don't agree anyway, so I just kind of went with it. It did take me four hours, but since I started from scratch, I guess it could have been worse. So here is all of my hard work and pin pokes on my little beauty of a model. She is gorgeous, isn't she?


I had to work hard for that smile. Once I finally did get a smile she said "Mooooom! Take a picture of a funny face!" So, in typical Breleigh fashion...


Don't be surprised, this is normal for her :)

Wednesday, January 25, 2012

I am a DIY ninja.

Okay, not really. But I just saw the Walmart commercial about being a ninja, and I quietly giggle every time. Quietly because I get made fun of otherwise. Anyway, back on track.
One of my goals for this year was to do at least one DIY project a month. Well I'm awesome and just finished my second one of the month (The third will be done by the end of this week, holla! Wait for pictures). I have a slight obsession with Pinterest, so while I'm not cool enough to think of any of this stuff on my own, I like to think I make nice additions to the massive overload of ideas that is Pinterest.
I needed something for the blank wall in our bedroom. I had a frame that I got for free because it had a defect, and took the mat out since it was the defective part. The frame itself is gorgeous, I think.


Supplies: Frame, one piece of scrapbook paper, any kind of stick on letters (or just print on the paper if you want), and some ribbon! I already had the frame, so I spent $5 after coupons for the rest.

After putting the letters in. I had to glue the ribbon to the back of the frame since it didn't have any kind of hanging hooks or anything.


And you may laugh at this, but unless you have a man around to do the laundry, you don't realize how awesome it is ;) He does laundry, I vacuum. Trust me, it's an even trade where hate for chores is concerned.

So easy, and literally took me 10 minutes if you don't count the drying time for the ribbon. And should make for interesting comments with the dry erase marker lol

Thursday, January 5, 2012

DIY, Rewind.

I redid my daughters' dressers a while back, and it seems they were well liked, thankfully :) A lot of people asked me how I did it (a couple people asked me how much they cost, score!), so I guess this is an easy way to do it all at once! I found two identical small Broyhill three drawer dressers (in near perfect condition) for $20 for the pair. Half of the pictures have managed to vanish into thin air, so this is what I could find.

This is what they looked like prior to painting. 
After sanding.
After two coats of white paint.


This was the most time consuming parts to do. I had to paint each drawer face and handle pink or green. Then I brushed on some mod podge, and added the diecut type scrapbook paper (I just cut it to size before hand). I added another coat of Mod Podge on top of it, and it dried completely clear!